Judul : Faux Painted Headboard
link : Faux Painted Headboard
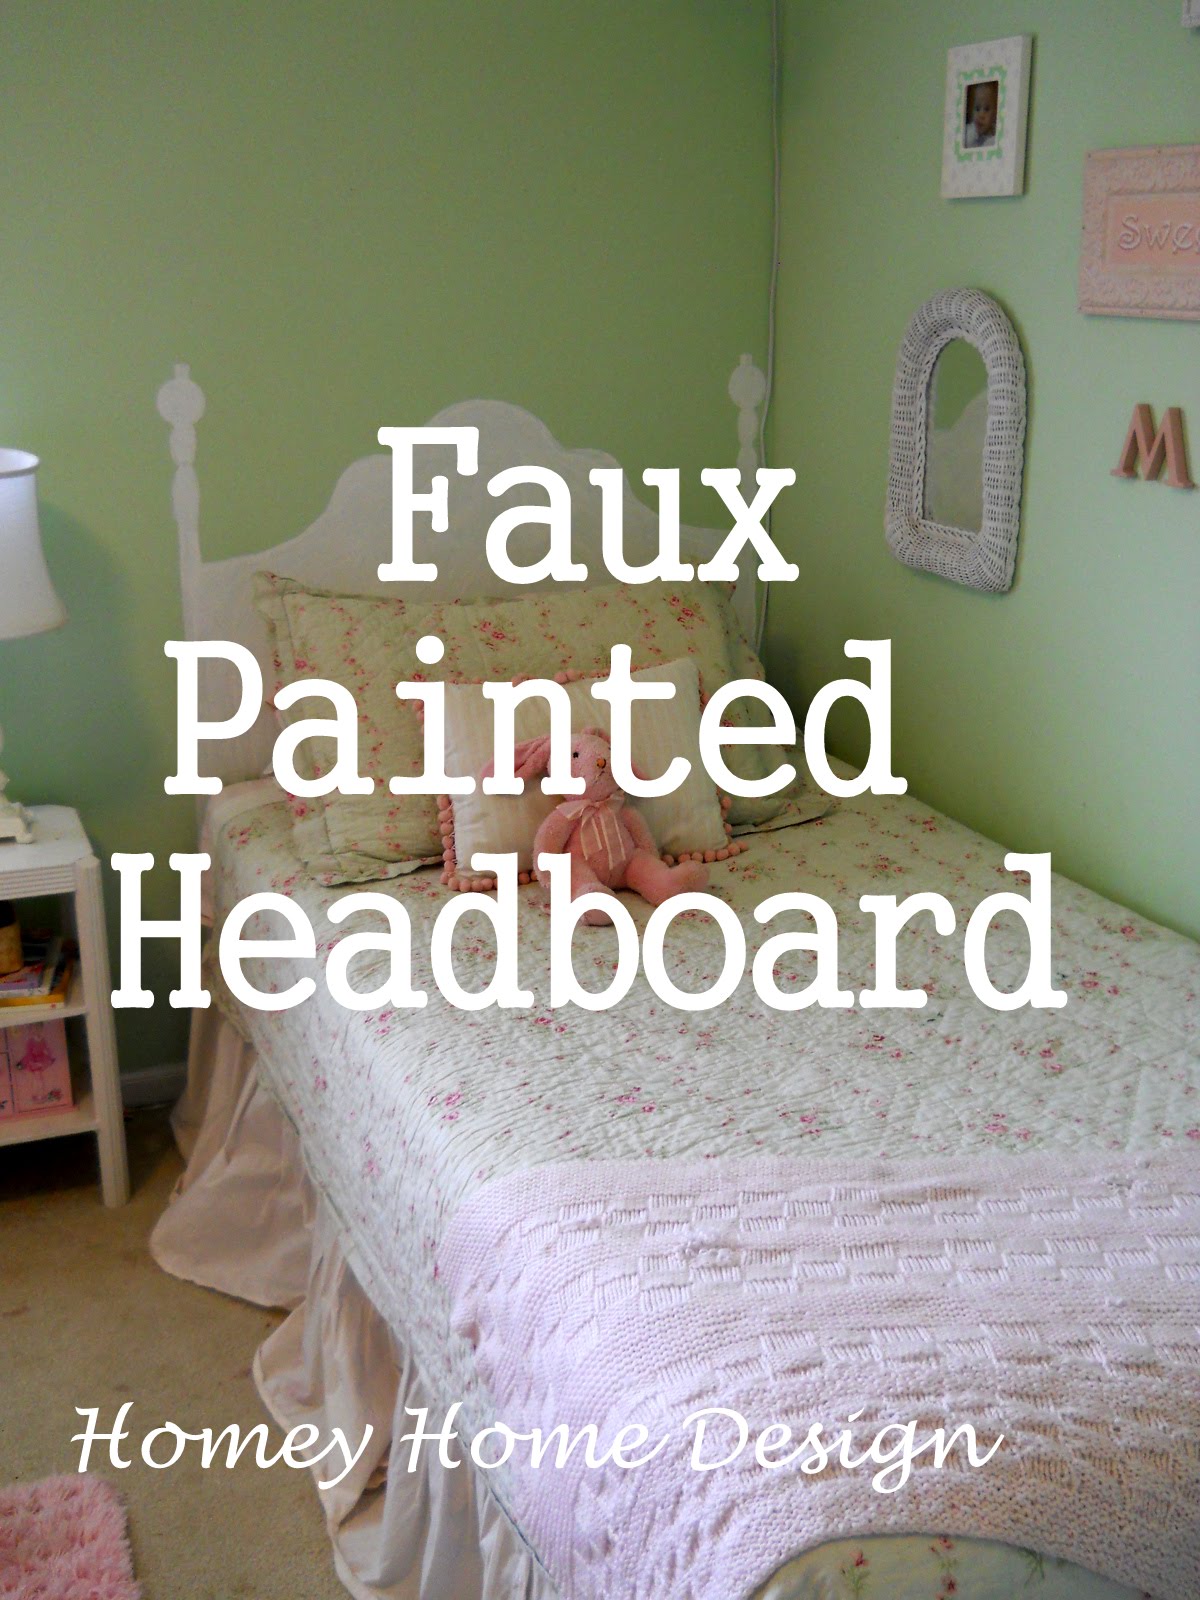
Faux Painted Headboard
So I've been wanting a headboard for McKinley's room for a long time. She just has the metal frame with the box spring and mattress, nothing fancy or girly. We don't have the budget right now to purchase anything and I keep thinking that I will find the perfect headboard at a garage sale but I haven't for 4 years now! I don't want to wait until the right thing comes along because she could be 16 by the time I do. {She's 6 now} This past week my cousin sent me a link from Land of Nod for a headboard decal. It was really cheap {$15.00} but when I saw it I knew I could paint a headboard for even cheaper! {Thanks for the idea Sue!}

Here's how her room looked before:

This was an easy project and I love how it turned out! {It took about an hour start to finish!} If you want to make one here's what you will need:
- A large sheet of paper {I used the backside of one of my kids old projects~am I a bad mom? I like to think of it as recycling!}
- Pencil
- Tape
- Acrylic paint and brush
- Plates in two different sizes
- Tape measure

I started by researching headboards. I sketched out about 8 different types then let my daughter pick which one she liked best. {She chose the one above}.
Measure the width of your bed and the height that you want your headboard. My is 24" high {from the top of the mattress} and 41" wide. I used my dinner plates to make my center curve and a smaller plate to do the slight curves on either side of the large one. A cup was helpful in making the finial on the top of the post.
I really only needed to sketch one side then I folded it in the center and cut both sides out together.

Once it was cut out I taped it on the wall. I eye balled it to make sure it was level. If your eyeballs aren't so level {;)} you may want to use an actual level. Next, trace around it and you are ready for paint.

I made the leg of the headboard on the left go to the floor, I wasn't sure about this initially but I'm glad I did it, it looks more finished if you look closely.


I love the final product! I can't wait for McKinley to get home from school and see how she likes it! Now that its done I'm thinking it could use a monogram on the headboard or something up above. Always a work in progress!!!!!

I'm sharing this here:
DIY by Design
At the Picket Fence
Tatertots and Jello
Too Much Time
Between naps on the porch
Demikianlah Artikel Faux Painted Headboard
Sekianlah artikel Faux Painted Headboard kali ini, mudah-mudahan bisa memberi manfaat untuk anda semua. baiklah, sampai jumpa di postingan artikel lainnya.
Anda sekarang membaca artikel Faux Painted Headboard dengan alamat link http://homeyhomedesignperfect.blogspot.com/2012/10/faux-painted-headboard.html
0 Response to "Faux Painted Headboard"
Post a Comment